
So you have yourself an amazing photo printed on seal-coated archival canvas which has been wrapped onto a wooden frame. Now its time to mount it on your wall.
Here’s how to mount your canvas onto your wall:
Step 1

Open the provided package of hardware which comes with your purchase of a Canvas Print from Hucul Printing Ltd. There is an instruction sheet inside that details the exact steps we are showing here, which should be read and followed.
Step 2
After you take inventory of the mounting hardware, you must prepare to fasten the hangers onto your frame.

Measure 1/3 one third from the the top of the frame. (Quick math: [Height of frame/3])
Step 3

With a pencil, mark the frame at the spot where you measured to be 1/3. Repeat on the other side.
Step 4

Place the hangers on the line. The bottom of the hanger should sit on the top of the line.

Now you’re ready to fasten them on to the frame.
Step 5

Screw in the hangers to the frame using provided screws. Note the orientation of the hangers: The thinner part of the hole is pointing towards the top of the frame.
Step 6

Locate the plastic (dimple markers/wall mounts) pieces as shown above.

Insert them into the hangers and twist 90 degrees to lock. Note the dimple maker facing out; this will mark the wall with a dimple so you know precisely where to put the wall mounts.
Step 7


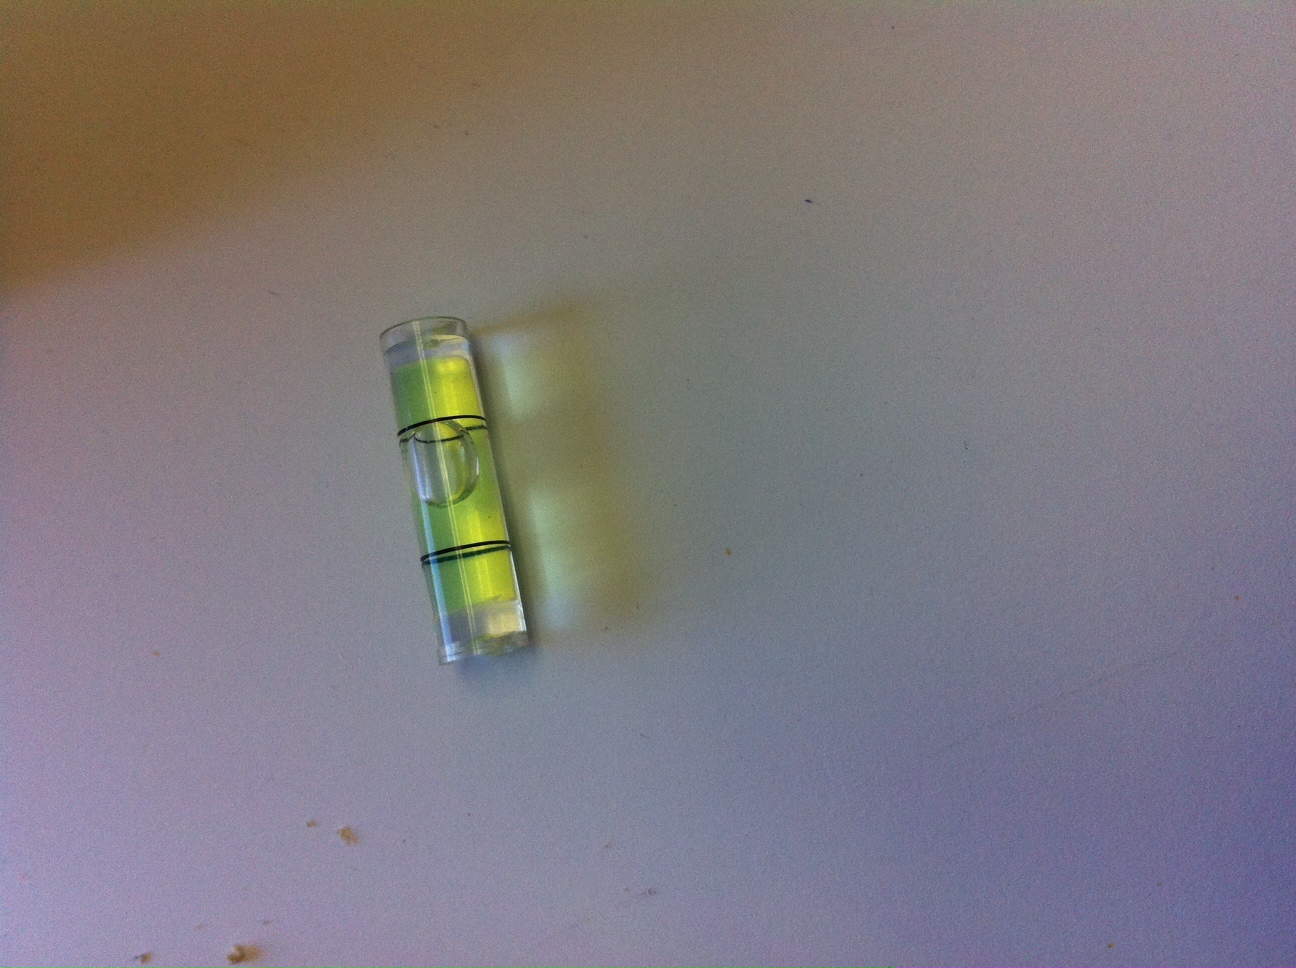
Next, attach the provided bubble level to the top of the canvas using the double sided tape provided. Warning: Do not press the tape too hard into the top of the canvas because the tape is quite strong and could peel off the top layer of canvas when you remove it.
Step 8
Now its time to find a home for the new canvas!

Find the place where you would like to put the canvas and ensure it is level by using both the bubble level and your eyesight to find the perfect placement. Once you have found the placement, carefully and firmly push the frame into the wall so that the plastic dimples create dimples in the wall.
Note that the attached dimple makers are the key to this step.
Step 9

Remove the dimple markers from the hangers and place them into the dimples you just made. Put the provided nails in the hole in each wall mount so that the nail is pointing downwards. 
Nail them in!
Now you have two wall mounts perfectly placed and ready to accept the canvas!
Step 10
Almost done!
Locate the spacer piece as shown above. Remove the tape covering.

Measure out the bottom stay and place a the spacer exactly halfway on the bottom frame.
Final Step

Slide the Canvas’ frame hangers into the wall mounts and your are done!
